 | ||
| FR | | LABORATORY & WORKSHOP | PLATINUM-PALLADIUM | LARGE FORMAT | OTHER PROCESSES | TOOLS | TRAINING COURSES |  |
| Training courses | ||||||||
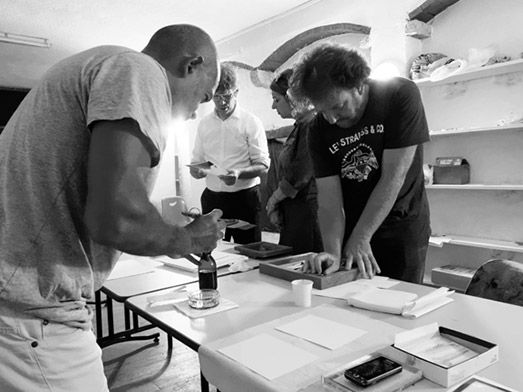
| The content and duration of courses are tailored to the needs of each participant. Training courses and apprenticeships are for photographers and visual artists. | The workshop regularly runs courses offering an introduction to or the chance to learn printing techniques. The content and duration of the courses are tailored to each participant. The courses are aimed at photographers, visual artists, etc., who can benefit from professional training. They can also be for amateurs who wish to develop their printing skills for their artistic projects. We also offer on-site courses in schools (including secondary schools, sixth forms, etc.) generally in collaboration with art centres. | |||||||
| ||||||||
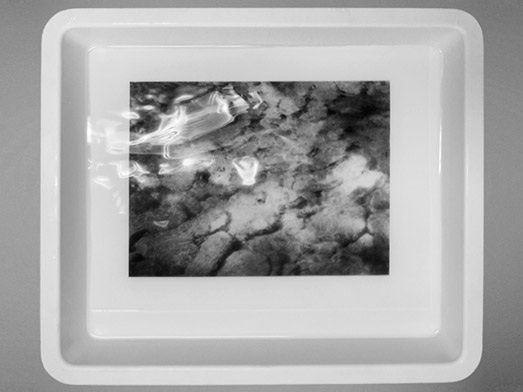
| Argyrotype apprenticeship with Sept Off in Nice and the town of Vence | Clearing a platinum-palladium print | |||||||
| Platinum-Palladium | ||||||||
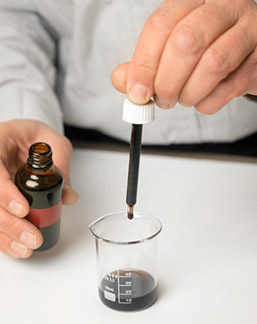
Over the past few years, the platinum-palladium process has become very popular, especially with the arrival of computer tools. 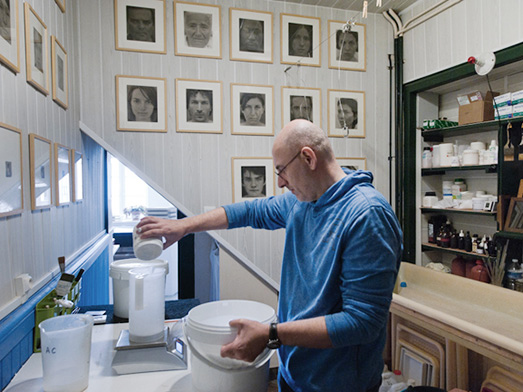 Preparation of the chemicals
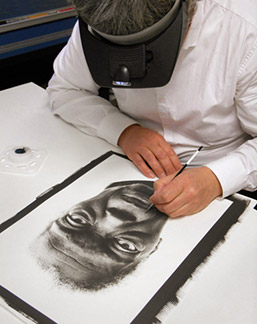
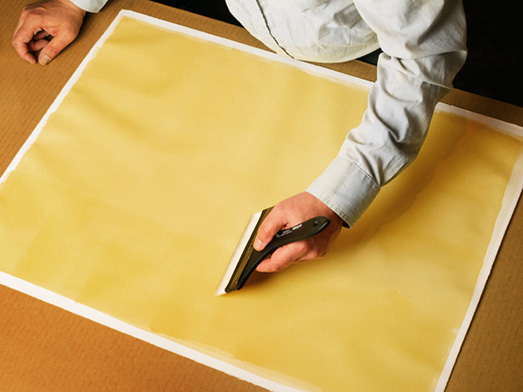 Sensitization of a sheet of Arches Platine paper, 145g, 56x76cm | Over
the past few years, the platinum-palladium process has become very popular, especially with the arrival of computer tools. Combined with the use of such tools, prints of an unprecedented precision can be made through the platinum-palladium process. Furthermore, the process involves a manual production process. As such, it allows for experimentation, research and creation for photographers who consider their prints more as photographic objects rather than simple media for their pictures. Therefore, artists, professional photographers, and diligent amateurs can all successfully experiment with the platinum-palladium process. PLATINUM-PALLADIUM COURSE CONTENT 1/ Theoretical presentation of the process and of exhibition prints * The trainees should preferably bring their own negatives or digital files This training course takes place over 2 to 5 days. MATERIAL Printing | |||||||
| Argyrotype and Cyanotype |
||||||||
Argyrotypes and cyanotypes are contact printing processes that were invented at the dawn of the development of photography and updated in 1990 by chemist and photographer Mike Ware.
| Just like platinum-palladium prints, argyrotype and cyanotype prints become one with the paper (the image is in fact embedded in the paper’s fibres whereas in other printing techniques, the image is on the paper’s surface). The particularity of the cyanotype process is that it produces Prussian Blue (blue-cyan) prints whereas the images obtained through the argyrotype process are brown in colour. METHOD This training course runs over 1 to 5 days. It can be combined with the platinum-palladium training course. * Other paper types that are more porous may be used for these processes, especially for the creation of photograms. 2/ Choice of paper (or of the material) 3/ Practice of the process: | |||||||
| Reinterpretation and printing | ||||||||
The
processing and the reinterpretation of an image, the printing and the choice of printing material are themselves an integral part of an artist’s work.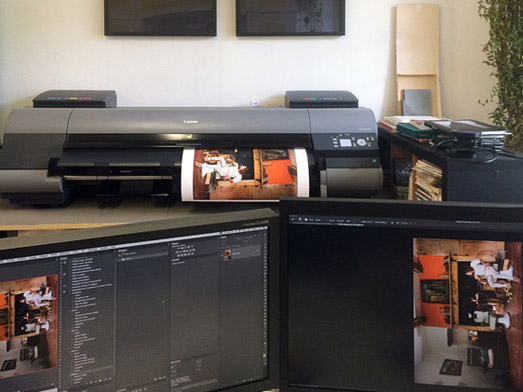 Print on cotton paper, 50x75 cm | Even though this process is linked to the photographer’s own sensibility, approach and experience, it also relates to the tools or the techniques that have to be understood and learned. AIM Through the creation of a black and white and a colour photo print project, this training course consists of learning the inkjet printing process on Japanese or Western paper types. This training course runs over 1 to 5 days. COURSE CONTENT | |||||||
 |
12, rue Orbe 64270 Salies-de-Béarn - France C +33 (0)6 32 22 51 11 email : lafolie.laurent@orange.fr |
